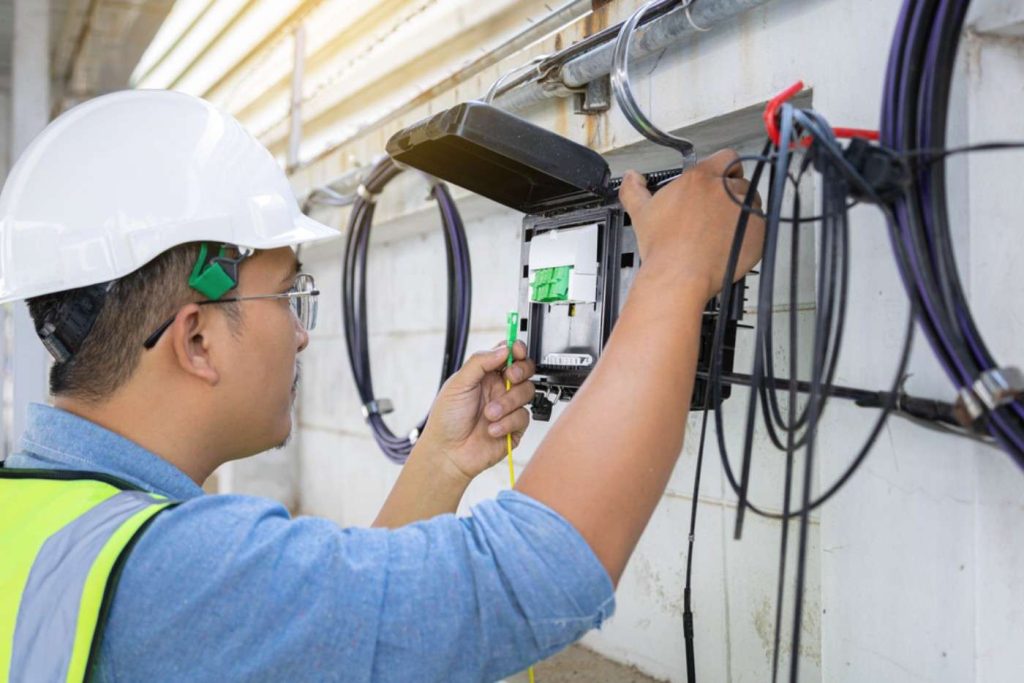
Fiber termination box is an essential component in fiber optic communication systems that facilitates the routing and protection of kabel gentian optik. The following steps provide a detailed installation guide for fiber termination boxes:
Step 1: Preparation
Before starting the installation, you will need the following tools and materials:
- Fiber termination box: Select a fiber termination box that meets your requirements and specifications. Ensure that it complies with relevant standards and norms.
- Fiber optic cables: Choose fiber optic cables that match the fiber termination box and have enough cables to connect the fiber termination box to other network devices.
- Fiber adapters: These are used to connect the fiber optic cables to the fiber termination box and should comply with industry standards.
- Cable cutters and strippers: Tools used to cut and prepare the fiber optic cables for installation.
- Labeling tape: Use this to label the fiber optic cables for easy identification later.
- Cleaning agent: Use a cleaning agent such as alcohol or a specialized cleaner to clean the fiber optic cables and adapters.
- Gloves: Wear gloves to avoid any contamination of the fiber optic cables and adapters by hands.
Step 2: Preparing the Fiber Optic Cables
Before installing the fiber optic cables, follow these steps:
- Examine the fiber optic cables for any damages or defects. If any are found, replace them.
- Lay the fiber optic cables out flat on a surface to make it easier to handle and connect them.
- Determine the length of fiber optic cable needed for each connection to the fiber termination box and trim them with the cable cutters.
- Clean the ends of the fiber optic cables and adapters with the cleaning agent to ensure a clean, smooth end.
- Set the fiber optic cables aside for installation.
Step 3: Installing the Fiber Termination Box
Follow these steps to install the fiber termination box:
- Follow the instructions provided with the fiber termination box to mount it in the desired location. Secure it well so that it does not shift or fall off.
- Label the fiber termination box with relevant information such as its purpose and identify its position or reference point in the network diagram. This will help with future troubleshooting and maintenance tasks.
Step 4: Connecting the Fiber Optic Cables
Follow these steps to connect the fiber optic cables to the fiber termination box:
- Refer to the fiber termination box’s manual to correctly connect the fiber optic cables to it. Match each cable to its designated port on the fiber termination box.
- Label each cable connection with a corresponding label or code for future reference and maintenance purposes. This will help identify which cable is connected to which port or network device.
- Ensure that all fiber optic cable connections are secure, stable, and do not have any sharp bends or pinched cables that could affect signal transmission quality.
- If multiple fiber adapters are being used, ensure that they are spaced correctly and securely in place to avoid any signal loss or issues during data transmission.
Step 5: Testing and Maintenance
After completing the installation, it’s important to verify that everything is working correctly and ensure maximum performance of your fiber network:
- Check all connections to ensure that they are tight and stable. The fiber optic cables should not move or shift when tugged lightly.
- Use a fiber optic power meter or similar tool to test the network connections for proper light signal transmission quality between the fiber termination box and other network devices. Check for any weak or lost signal points and rectify them accordingly.
- Schedule regular maintenance checks on the fiber termination box and its connections to ensure their cleanliness, security, and performance over time. Replace any damaged or worn-out components promptly to maintain network uptime.
